

If a professional kitchen was run like the average family home, the restaurant would fold in a week. Imagine a head chef trying to sear a steak while reaching over a toaster he hasn’t used since 2019, or hunting for a spatula buried under a pile of ‘supposed-to-be-here’ holiday platters. We expect professional kitchens to be streamlined for the rush, yet we ask ourselves to manage 21 meals a week in an obstacle course of clutter. The only difference between you and a Michelin-star kitchen? You’re doing the work of the executive chef, the line cook, and the dishwasher—all while a toddler is hanging off your leg. It’s time to stop ‘making do’ and start setting up a hard-working kitchen. One that actually works as hard as you do.

1. Defining the Work Zone of a Hard-Working Kitchen
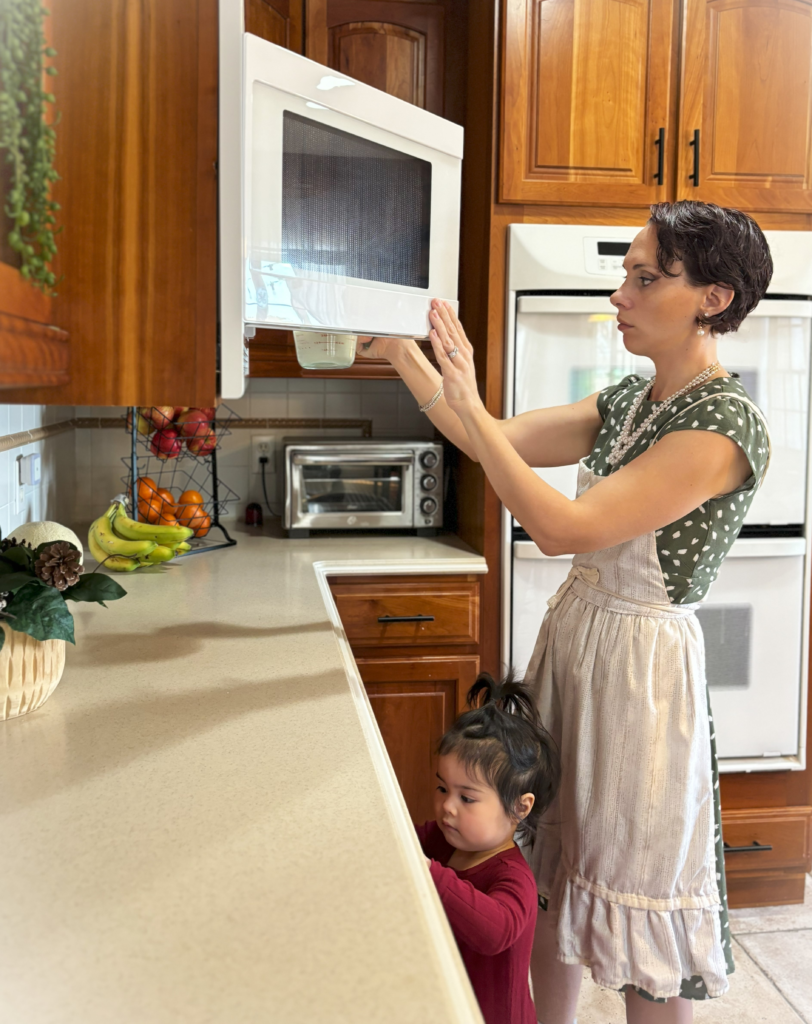
A hard-working kitchen isn’t a showroom; it’s a high-traffic workshop. But here’s the thing: not all kitchen real estate is created equal. Look at your counters—where do you actually do the heavy lifting? Usually, it’s somewhere in that “triangle” between the sink, stove, and fridge. Whatever that spot is for you, claim it as the Work Zone. There should be absolutely nothing in this space that doesn’t help you chop, mix, sizzle, or bake. The junk drawer? Absolutely not. My kitchen may look like it’s on the larger side, but the actual “Work Zone” within my triangle is surprisingly small. I have to be extremely selective about what earns a spot there, and the smaller your kitchen is, the more important that intentional you have to be.


2. The “One-Handed Mom” Accessibility Test
If I had a dollar for every time someone asked, “How do you do it with six kids?” I’d be a very wealthy woman. So many mamas struggle with getting things done because they’re trying to work around the baby on their hip. But in this house, a baby-on-the-hip isn’t a “bug,” it’s a “feature” of motherhood. You need to set your home up to pass the One-Handed Mama Test. In the kitchen, if putting an item away requires a double-handed-stuff-shuffle or a strategic shove, your system is too complex. It should be just as easy to put the spatula back in its home as it is to leave it on the counter.


3. The “High-Bin” Pull-Down System
I try to be a mother who “rises above” the daily struggle, but honestly, at 5’3,” I’d settle for being a mother who can reach the mixing bowls without a spotter. If you’re vertically challenged like me, don’t let high shelves become “clutter graveyards” just because you can’t see back there.
Use handled bins for anything above eye level. You pull the bin down, grab what you need, and slide it back. It turns a “climb-and-search” mission into a five-second task. When your kitchen is a tool rather than a hurdle, “tidying as you go” becomes second nature—even with a baby in your arms. It’s no longer a massive chore at the end of the night; it’s just something you do in the 45 seconds it takes to melt butter. (In fact, I have a strategy for these tiny pockets of time I call “[Beating the Microwave]“—Read that post next!)
4. Reclaiming the Counters in your Hard-working Kitchen
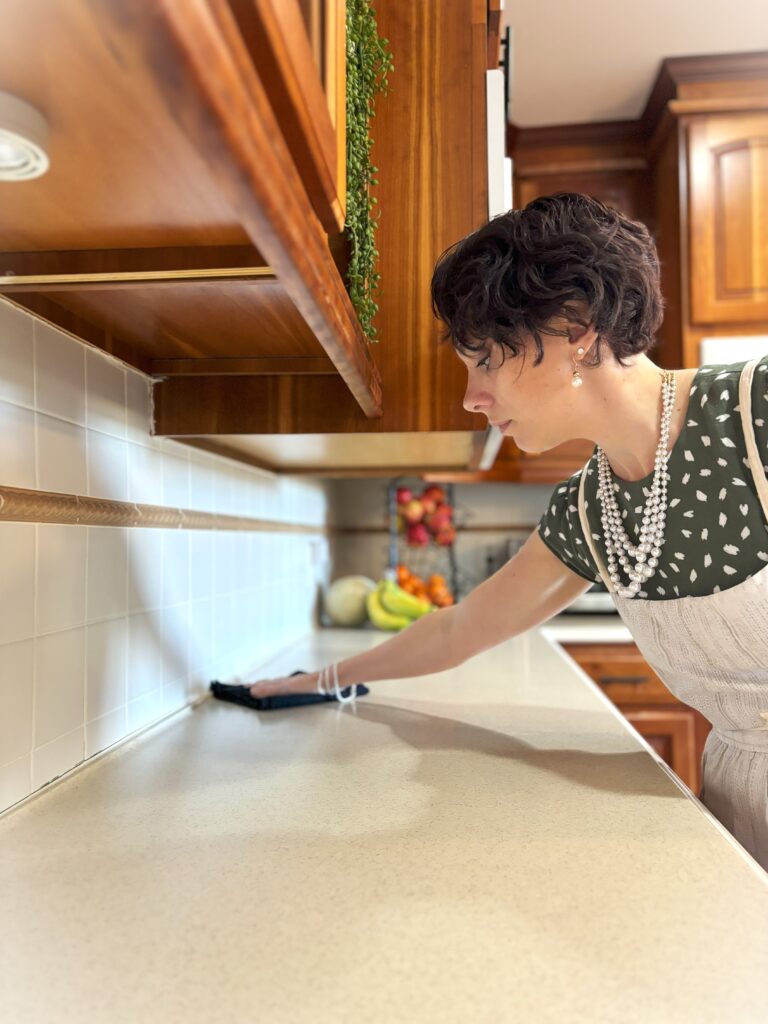
The whole point of this setup is to have actual space to work. “Tidying as you go” is essential, but it only works if your counters are clear to begin with. In my kitchen, if an item isn’t used every single day, it doesn’t deserve a spot on the “beachfront property.”
The two seconds it takes to grab the toaster from the cabinet and plug it in is a fair trade-off for the peace of a clear counter. Visual clutter is stressful. When the work is done, you deserve the “dopamine reward” of looking at your kitchen and seeing peace. Don’t let a toaster steal that moment from you.
5. The “Point of Use” Rule
For a hard-working kitchen to function, everything needs a home exactly where it is used—ideally off the counter and behind a closed door. This applies even to items that aren’t “conventionally” stored in a kitchen. If you brush hair at the kitchen table every morning, put a small basket of hair supplies in a kitchen drawer. To make room for what you actually do, move out the items you’re just “supposed” to keep there. Those once-a-year holiday roasting pans? Move them out of your Work Zone. If you use my One Shared Closet system, you likely have a spare shelf in a bedroom closet that can handle the “surplus.” Don’t worry about what people will think if they see a turkey roaster in a bedroom; removing friction buys you back precious time, and a guest would much rather see a tidy home than the inside of your closet.


6. Removing the Duplicates
If you’re thinking, “I’d love to put the toaster away, but there’s no room in the cabinet,” then I say, “Ding, Ding, Ding! we’ve hit the nail on the head!”. We need to be intentional about duplicates.

In a family of eight, we definitely have doubles—but there is a difference between having four baking sheets because you use them all at once, and having duplicates you repeatedly skip over for the version you like better. Those “skipped-over” items are stumbling blocks between you and the life you want to live. Get them out of your workspace. I promise you won’t miss them once they’re gone. The kitchen is just another part of the home that runs on my [Abundance, not Surplus] philosophy.

7. Functional Decanting (No “Aesthetic” Busy Work)
I prioritize function over aesthetics every day of the week. You should only decant an item if it removes friction from the job.
- The Scoop Test: It is much easier to scoop flour from a wide-mouth jar than a floppy, messy 25lb bag. That is a functional win.
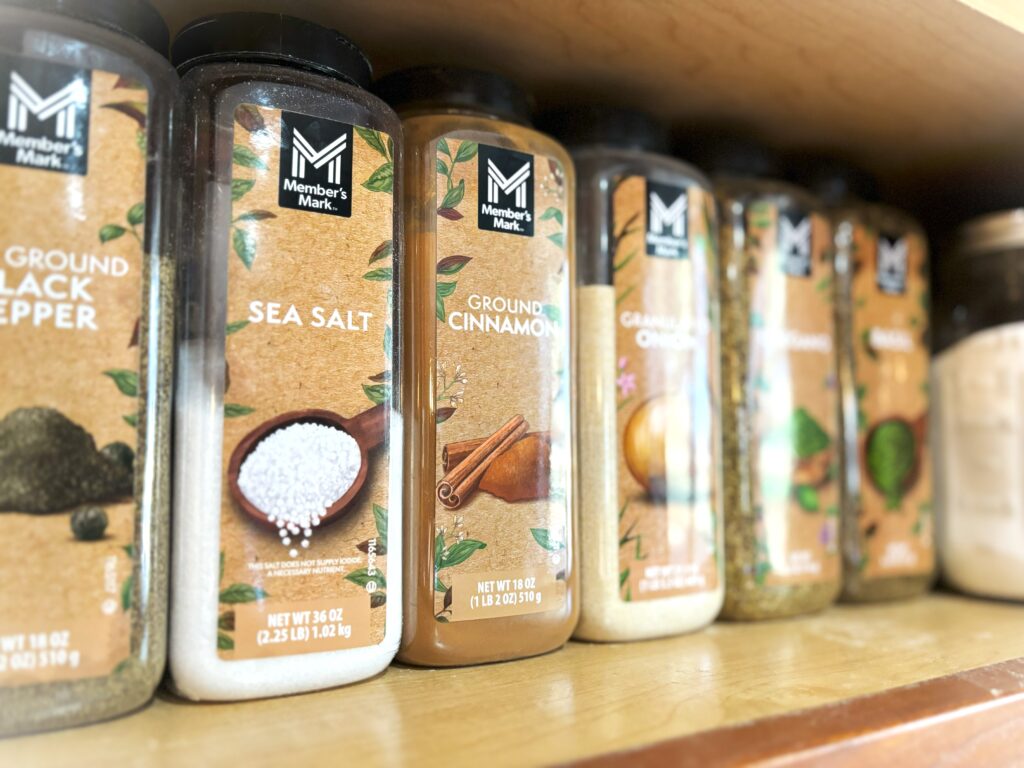
- The “Don’t Bother” List: Do not decant spices. Store-bought shakers work perfectly fine. Don’t create extra chores just to chase a “look.”
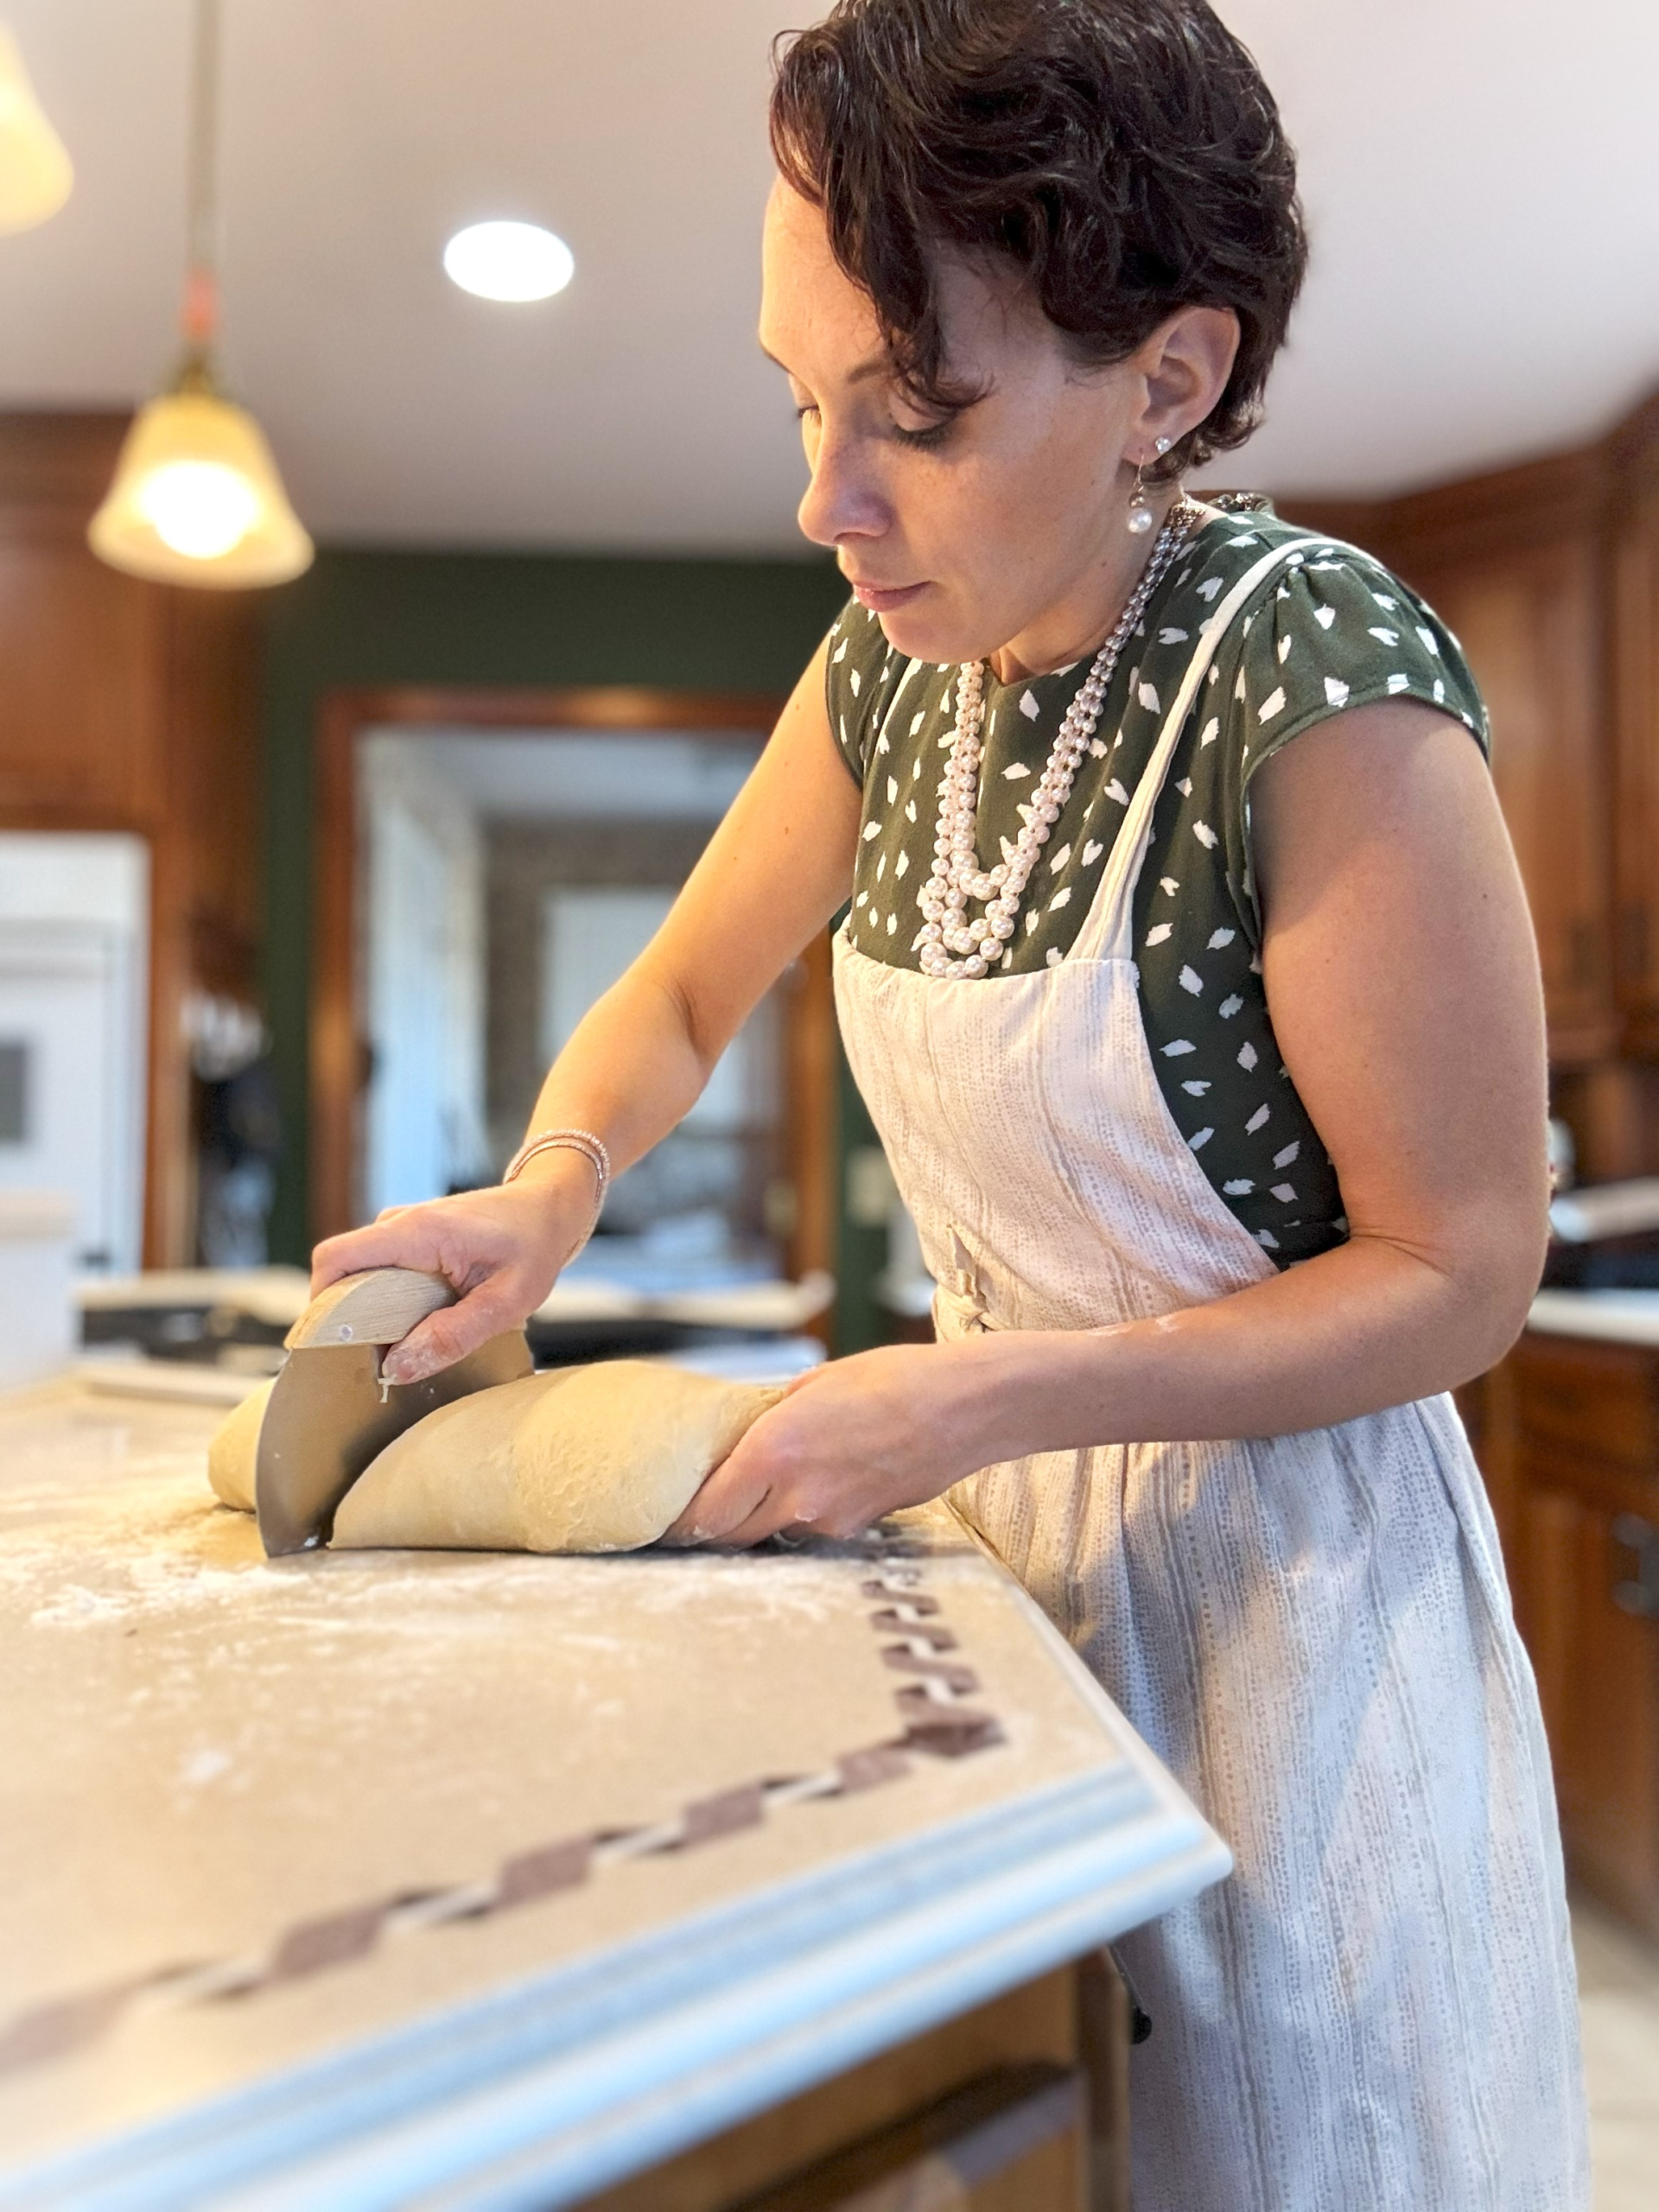
8. The Well-Stocked Pantry & The Plan
Now that the tools are set, it’s time to cook. My top tip is establishing a set inventory of Grocery Staples. These are the items that allow you to whip up a meal without a frantic trip to the store. (You can check out my [Grocery Staples Checklist] here!)

But don’t stop at the pantry; you need to kill decision fatigue. Deciding on 21 meals a week is a heavy mental load. Use a 4-Week Rotating Meal Plan and post it somewhere visible—mine is on the inside of the cabinet next to the fridge. At 5:00 PM, you shouldn’t have to think; you should just execute.

The Finish Line: From Survival to Abundance
Setting up a hard-working kitchen isn’t about achieving a “perfect” home; it’s about creating a home that actually supports the woman running it. When you stop fighting your architecture and start engineering your workspace, you stop being the “frazzled line cook” just surviving another dinner shift, and start being the leader of your home again.


Coming Soon: Motherhood By Design
I am currently putting the finishing touches on my flagship resource: Motherhood By Design. It’s a 50-page compendium created to help you move from survival mode to a life of abundance—featuring everything from the Chore Friction Analysis to my 4-Week Rotating Meal Plan. It’s the blueprint for the systems that allow our family of eight to thrive, and I can’t wait to share it with you.
Want to be the first to know when it drops? Sign up for my newsletter [HERE]. Not only will you get an alert the moment Motherhood By Design is live, but I’ll send you my Grocery Staples Master List for free today just to get your hard-working kitchen started.
Let’s Talk in the Comments: Do you have a hard-working kitchen? Is your kitchen optimized for maximum function? Does it pass the “one-handed-mama” test? Tell me which “Hard Truth” hit home for you today—I’d love to hear how you’re reclaiming your Work Zone!